
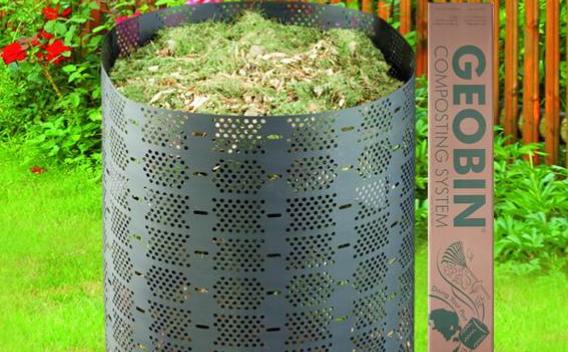
Compost Bins Available for Purchase!
Image
-
$18 each
-
Cash and credit card (Visa, MasterCard, Discover only) are accepted. A service fee applies for credit card purchases.
-
Compost bins are available for purchase over the phone at 951-486-3200 or in person.
-
Compost bins are available for pickup at the Riverside County Department of Waste Resources HQ Office, Monday through Thursday, 7:30 a.m. to 4:30 p.m., and Friday, 7:30 a.m. to 2:30 p.m.
-
Purchaser must show proof of identification that matches the credit card used to purchase the bins at the time of pickup.
-
Compost bins are available for purchase by Riverside County residents only.
-
Limit of three compost bins per household. Subject to availability.
-
No returns on merchandise. Refunds subject are to approval.
-
Bin Specifications (includes the size of packaging and the bin in use)
Visit our class page!
Learn the best practices for using your compost bin.
Worm Bin Kits Available for Purchase!
Image
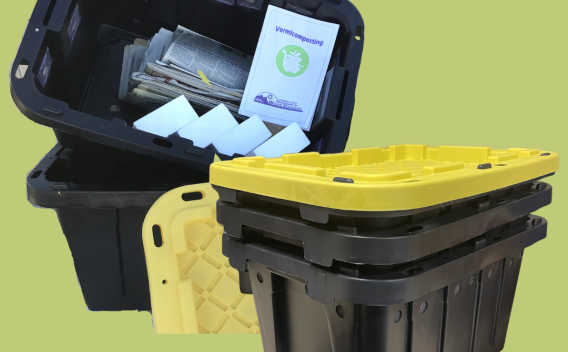
Worm bin kits are available for vermicomposting. A vermicomposting system uses red wiggler worms to break down food waste and creates soil amendments.
- $35.00 each
- Cash or credit card (Visa, MasterCard, Discover) are accepted. A service fee applies for credit card purchases.
- Worm bin kits are available for purchase over the phone at 951-486-3200 or in person.
- Worm bin kits are available for pickup at the Riverside County Department of Waste Resources HQ Office Monday to Thursday, 7:30 a.m. to 4:30 p.m. and Friday, 7:30 a.m. to 2:30 p.m.
- Purchaser must show proof of identification that matches the credit card used to purchase the worm bin kit at time of pickup.
- Worm bin kit available for purchase by Riverside County residents only.
- Limit of one worm bin kit per household. Subject to availability
- No returns on merchandise. Refunds subject to approval.
Visit our class page!